my creative space

fused plastic bags

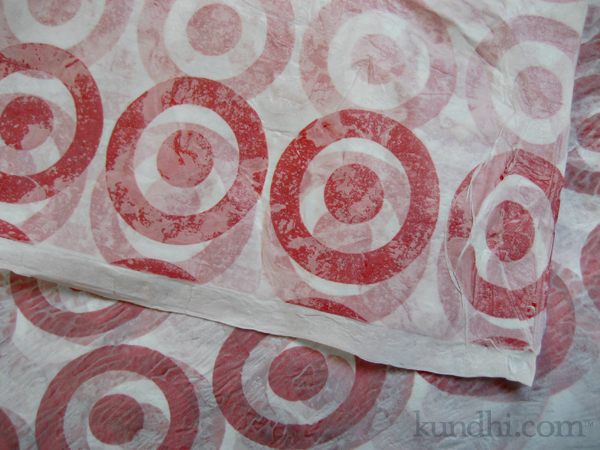
In my creative space today I’m fusing plastic grocery bags. Am I the only crafty person on the planet who hasn’t tried this yet? So far, I’ve had mixed results. I think it might be worth the extra effort to spring for some parchment paper.

Play along with your creative space over at Kirsty’s blog.

how to adjust the waist of your pants/jeans in 4 easy steps

My “Finished on Friday” project this week has turned into a tutorial. I think you are going to love it. I had written a similar tutorial about a month ago complete with pictures. Something just didn’t feel right about it, though. I figured there must be an easier way to tackle this problem. Then I found a great fitting pair of jeans at the thrift store. The secret: a “comfort elastic waistband.” See how the elastic is incorporated around the entire waist?
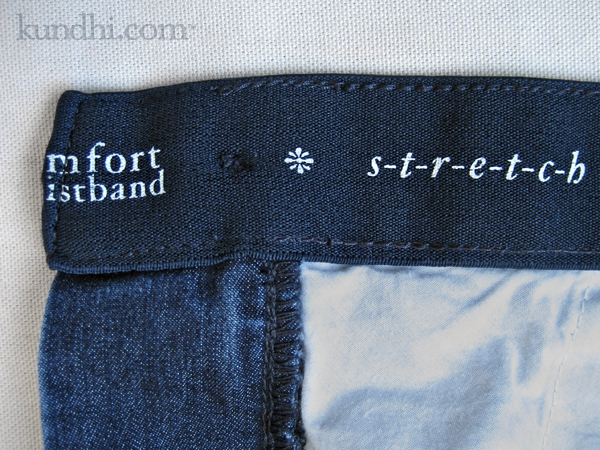
take in pants jeans at the waist

Then my friend Amy commented on my frustrations taking in the waist on these pants. “When I have encountered that I sometimes just open the side seam in the waistband area and thread new elastic right over the old.”

Aha! Remember my adjustable elastic tutorial? This is kind of the same, but better. The elastic goes around the entire waist, so there’s no bunching up in any one place. The fabric is evenly distributed for a smoother finish.

You can even do this without a sewing machine as long as you don’t mind a little hand stitching.
take in pants jeans at the waist

Materials
3/4″ or 1″ wide elastic
small, sharp pair of scissors
Fray Check
pin, needle and thread

Step 1
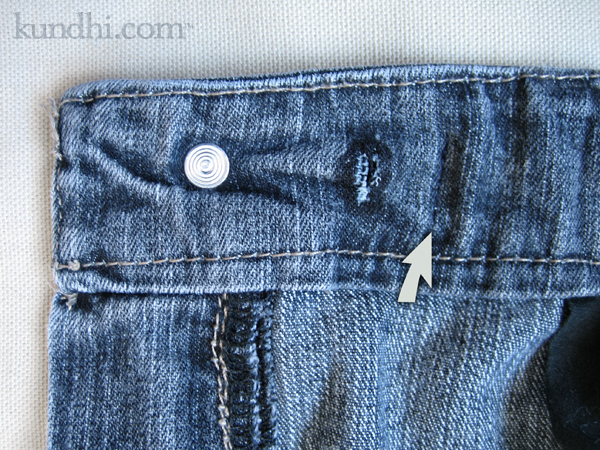
Snip two holes on either side of the waist to create a casing for the elastic — one just inside the buttonhole/snap and the other just inside the button/other snap. Make sure your scissors don’t go through to the other side! Apply Fray Check to the raw edges.

Step 2
Thread the elastic through the casing and secure with stitches on one side. (My thread matched the denim a little too well. The arrow is pointing to the stitches. If you look really close, you’ll see them.)

Step 3
Try on pants and pull on the elastic until you’ve got a good fit.

Step 4
Pin elastic in place, take off pants and secure with stitches on the other side. Trim excess elastic.

That’s it! Totally easy! You can do this to any pants that:

  • fit your hips, but are too big in the waist
  • fit everywhere except that annoying gap in the back
  • are made of denim without that 2% of spandex to make then snap back into shape after one wearing
  • need to tide you over while you lose weight and fit into the next size
finished: elastic waist surprise

altered waist

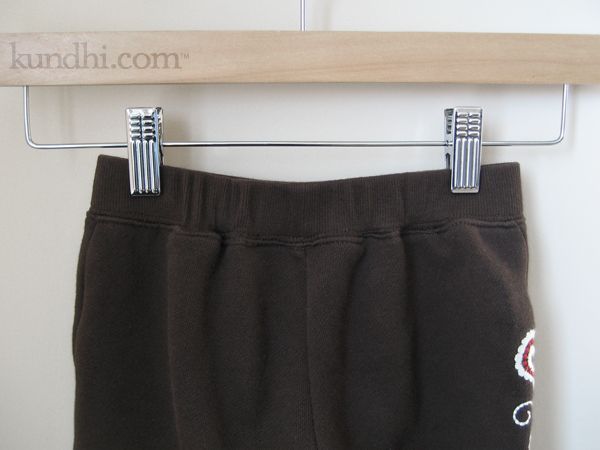
These pants are from the mending pile. They fit my daughter in length, but were too big in the waist. They looked like an easy fix: open up the waistband, take in the elastic, stitch the casing closed.

As I started with Mr. Seam Ripper, I noticed that there were a lot of stitches. In fact, it looked like a row of regular stitches over a serged row of stitches. What the? Then I realized there was no casing. The elastic was sewn directly into the waistband and pants.

If I took them in the correct amount on only one side, the back would look lopsided. I decided to take them in half the amount on either side, just like darts. (In hindsight, sewing darts over the elastic would have been easier!)

I got things put back together fairly well. On the hanger they look a little bunched up, but when my daughter wears them they look just fine.

Next time, I will pay closer attention to the construction before I start ripping out stitches.

What have you finished this week?

new (to me) tablecloth

tablecloth refashion

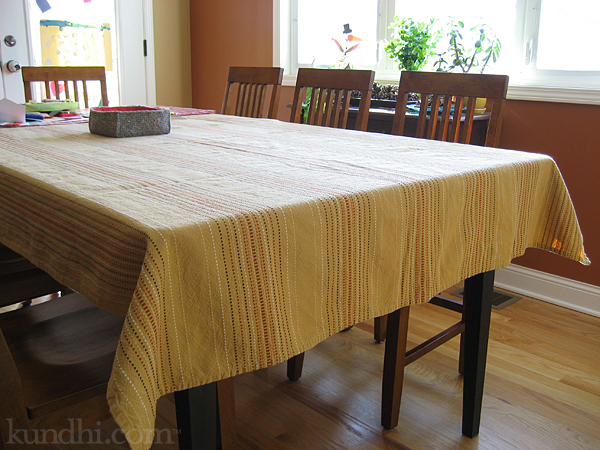
I’m starting with an after picture so you’ll see the pretty new tablecloth first. I’m a little bit embarrassed posting the before picture, but I guess when you publicly make a commitment to finishing up some long overdue projects, that’s what happens. In my defense, the chair at the end of the table usually covers up the orange tablecloth. Here it is:

tablecloth refashion

Some history: a few years ago we ordered a table base online and had a local guy make the top for us. Our plan was to stain it the same color as our cabinets. The stain gives me a headache, so it needs to be done outside. There aren’t a lot of good days for that with Nebraska’s cold winters and windy summers. I bought the red striped tablecloth to help protect the unfinished wood.

Then my daughter got to the drinking-milk-out-of-a-cup stage, followed by spilling-milk-on-the-table stage and I needed something to protect the wood better. The vinyl tablecloth I found was too big, but it matched our decor. It’s nice for messy group projects, like carving pumpkins or birthday parties. I figured I’d wait to hem it until I found a more permanent tablecloth.

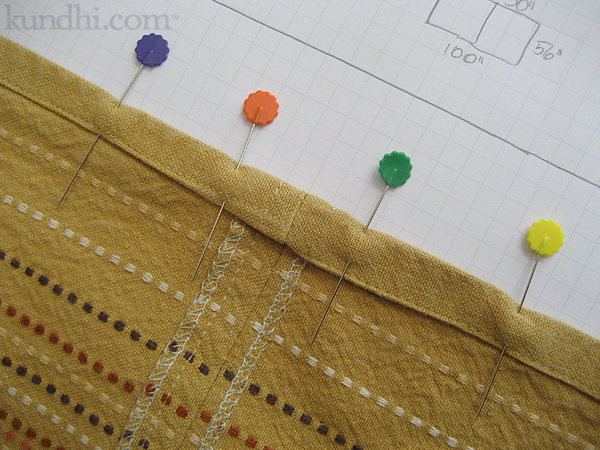
Fast forward to last week: I finally found the perfect tablecloth. Unfortunately it was too small, but fortunately there were two! I cut off the extra, serged the ends and unpicked the hems for a “seamless” seam.

tablecloth refashion

The extra fabric will become matching pillow cushion covers for the adjoining room. And the vinyl tablecloth finally got hemmed! I’m not sure what I’m going to do with the extra vinyl fabric. Any suggestions?

thrifted: original tablecloth was on clearance at Target, but all of the others are from local thrift stores.

my creative space

my creative space

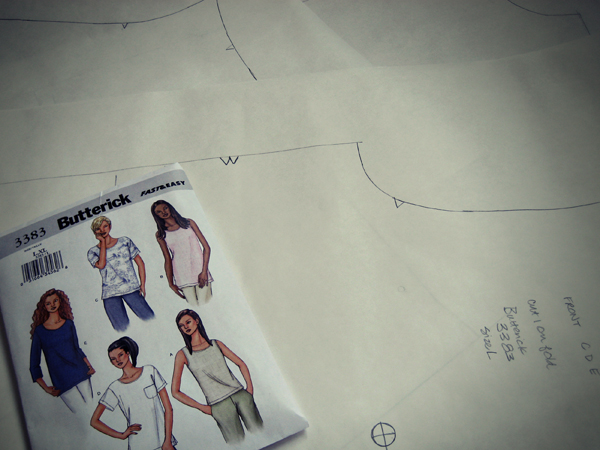
In my creative space today I’m still thinking about sleeves. I’m not sure if I’m going to make a shirt from scratch or use these pattern pieces on an existing garment. Can’t. Stop. Thinking. About. Sleeves.

What creative things are you thinking about today? Don’t forget to check in on the great creative minds over at Kirsty’s blog.

wardrobe refashion: hippie shirt

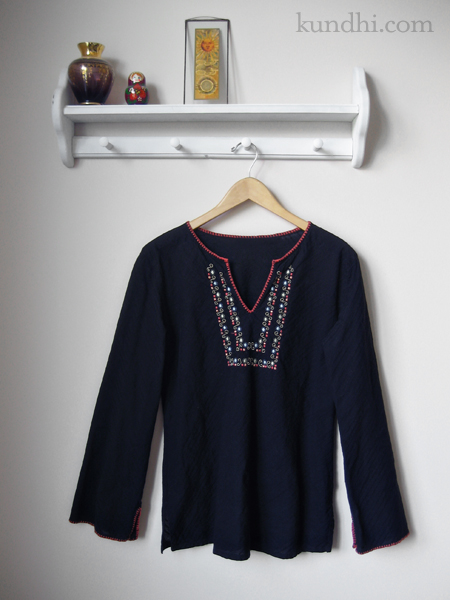
thrifted hippie tunic

It occurred to me as I got dressed this morning that I never blogged about one of my favorite refashions: the hippie shirt. I love the look of these style tunics, but they’re not the most flattering for me. I really need a defined waist.

I refashioned this last year before I ever attempted to remove a sleeve from a shirt. I just used my 80s sweater method and took it in a little bit under the arms and around the waist.

Luckily this material was forgiving and it turned out pretty good. I’d like to do the same to some of my knit jersey shirts, but I think I’m going to have to take the sleeves apart to alter them. I plan to practice on a few of my thrifted shirts. Hopefully, I’ll have some success stories to post soon!

wardrobe refashion: t-shirt to little girl’s beach cover-up

I’ve talked about our vacation, but have I mentioned where we’re going?

t shirt to toddler dress

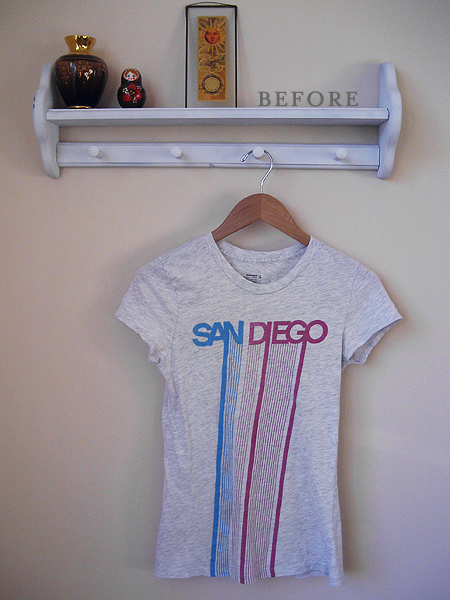
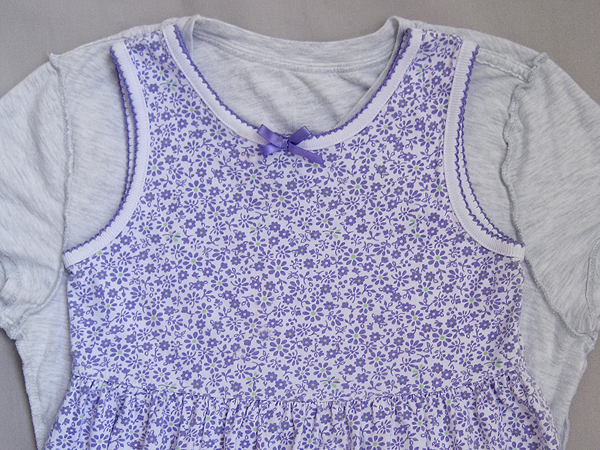
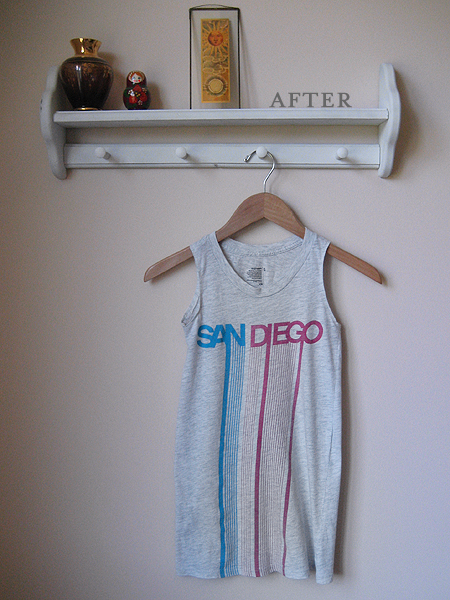
Yep! Can you believe I found this t-shirt? I thought it might make a really cool beach cover-up for my daughter. I just used one of her currently fitting dresses as a pattern.

t-shirt to beach coverup

This should have been such an easy project. The t-shirt was twisted and I had a hard time making the vertical lines look even. Also, the material is really thin and kept getting sucked into my machine. But I loved how it turned out!

t-shirt to beach coverup

So does my daughter. It would be nice if this fits next summer as a dress, but they way she’s growing, it will probably fit in the middle of January.

thrifted and refashioned: 99 cent sale t-shirt.

wardrobe refashion: beach dress blahs

wardrobe refashion: beach dress

I bought this dress because I thought it would be nice for the beach. After taking it in at the waist (sorry, you can’t really tell in the photos) and shortening the hem to knee length, it’s not really doing anything for me.

wardrobe refashion: beach dress

My husband says it looks good, but it makes me feel kind of blah. I’m still keeping it for vacation, but it will probably get donated after that!

wardrobe refashion: re-sized pajama pants

wardrobe refashion: resized pajama pants

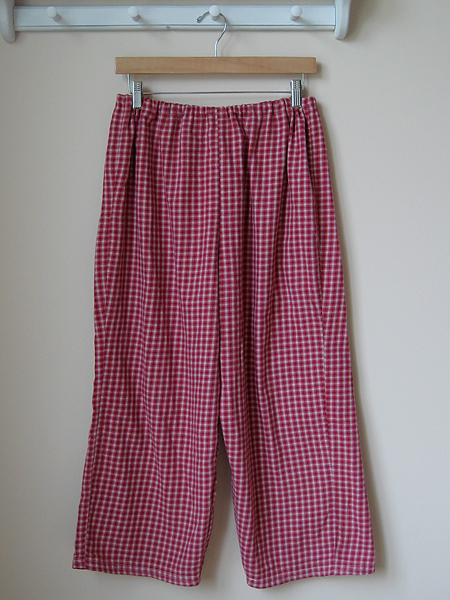
Just quickie refashion today: some Eddie Bauer flannel pajama pants. Are you already bored with pants? I’ve only got a few left, don’t worry. I did do something fun with these, though.

wardrobe refashion: resized pajama pants

I fell in love with the super soft flannel and didn’t realize until I got home that they were a size petite. I figured because they were lightweight that I could do capri-style jammies and they’d be good until the temps got really cold.

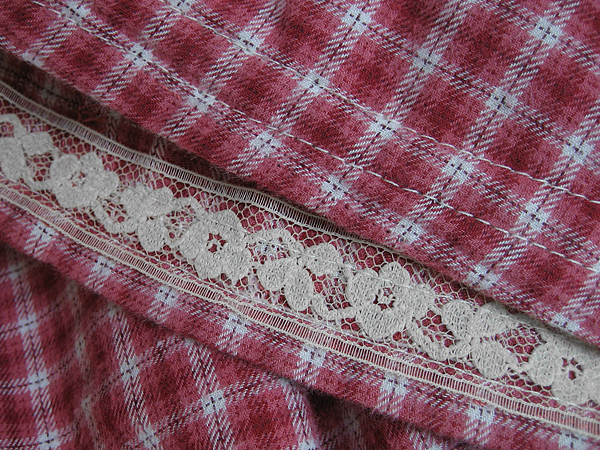
To keep them as long as possible, I serged the bottoms and turned the hem under just 1/2 inch. I used a little lacy seam binding to hide the serged edge. I totally cheated and sewed the lace on while hemming them.

thrifted: Another 99 cent sale transformation using Butterick 5044.